
Adenium, Backyard Gardening, Cactus & Succulent, Family & Kids' Gardening, Flower Seeds, Garden Planning & Design, Herb Seeds, Homesteading & Self-Reliance, Sensory & Wellness Gardening, Sustainable & Regenerative Living, The Horticulturist’s Lab, Urban & Small-Space Gardening, Vegetables
The Winter Sowing Method: Start Seeds Outdoors in Milk Jugs
Oct
Starting seeds indoors requires space, expensive LED grow lights, and heat mats. If you are short on indoor space or simply want a more hands-off approach to spring gardening, it is time to embrace the Winter Sowing Method.
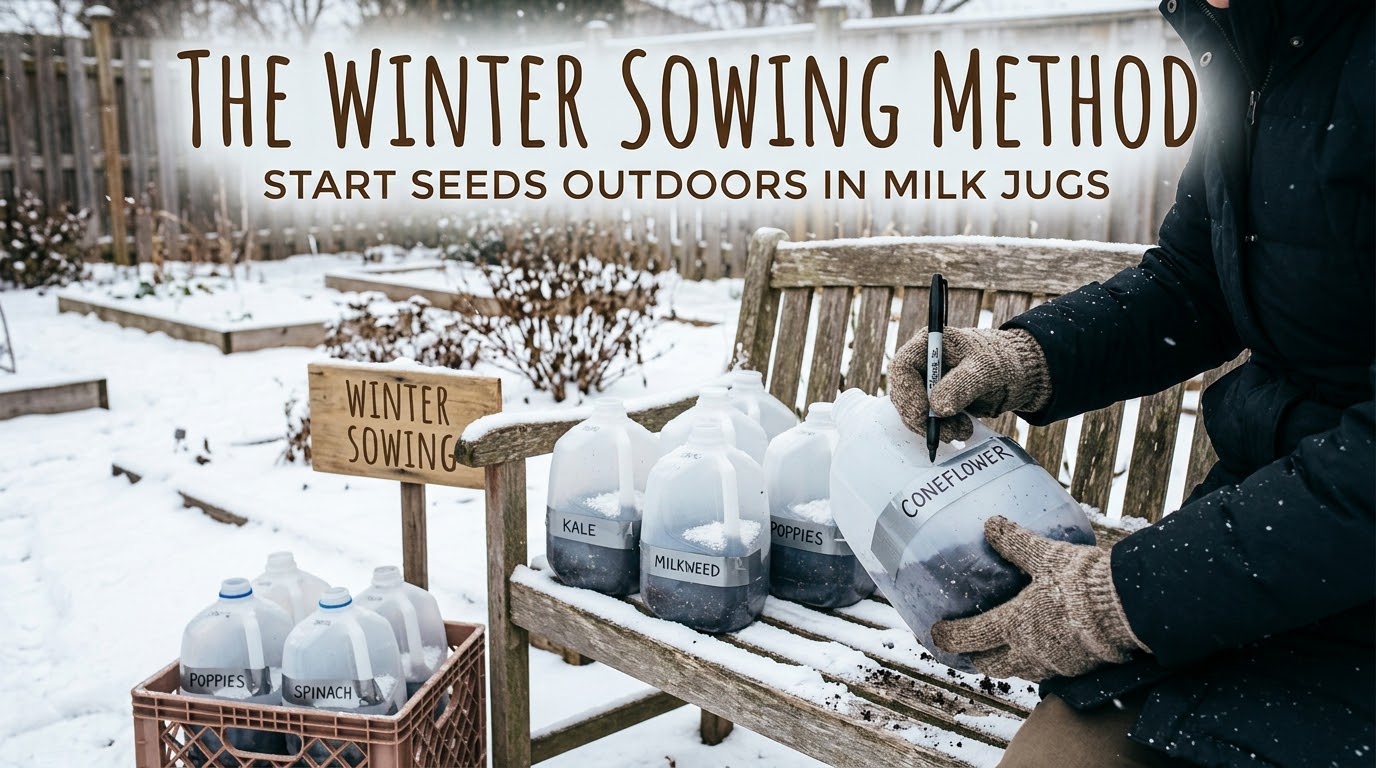
Winter sowing involves repurposing translucent plastic containers—most commonly gallon milk jugs—into miniature greenhouses. You plant your seeds inside the jugs, seal them up, and leave them outdoors in the snow, freezing rain, and ice. When the weather naturally warms in early spring, the seeds germinate exactly when they are ready, producing incredibly tough, weather-resilient seedlings that never need to be “hardened off.”
As we move deeper into autumn, now is the perfect time to start collecting your jugs and planning your winter sowing lineup.
1. Why Winter Sowing is a Game Changer
- Natural Cold Stratification: Many native perennials and hardy flowers require a period of freezing temperatures to break seed dormancy. Winter sowing mimics nature perfectly.
- Zero Indoor Space Required: Your entire nursery sits out in the snow on your patio, freeing up your kitchen counters and windowsills.
- No “Hardening Off”: Indoor seedlings are weak and must be slowly acclimated to the sun and wind over two weeks. Winter-sown seedlings are born outside; they are already accustomed to the harsh elements and UV rays.
- Pest Protection: The sealed jugs protect tender seeds from hungry winter mice, birds, and squirrels.
2. The Best Seeds for Winter Sowing
Not all seeds can survive winter sowing. Heat-loving crops like tomatoes and peppers will rot if left out in freezing, wet soil. You must choose seeds categorized as perennials, cold-hardy annuals, or cold-tolerant vegetables.
| Seed Category | Top Varieties to Winter Sow | Ideal Time to Place Outdoors |
|---|---|---|
| Native Perennials | Milkweed, Coneflower, Black-Eyed Susan, Lupine | December – January |
| Hardy Annual Flowers | Snapdragons, Sweet Peas, Larkspur, Bachelor’s Buttons | January – February |
| Cold-Hardy Vegetables | Kale, Spinach, Broccoli, Cabbage, Brussels Sprouts | February – March |
| Cold-Tolerant Herbs | Parsley, Cilantro, Chives, Oregano | February – March |
3. Step-by-Step Winter Sowing Guide
Step 1: Prep the Milk Jug
Start with a clean, translucent gallon jug (water or milk). Throw away the cap—you need the top opening left uncovered so rain and snow can enter to naturally water the seeds. Using a sharp knife or drill, poke 4 to 6 large drainage holes in the bottom.
Cut horizontally around the middle of the jug, leaving a small one-inch section intact right beneath the handle to act as a hinge.
Step 2: Add Soil and Hydrate
Open the hinged jug and add 3 to 4 inches of high-quality, lightweight potting mix (do not use heavy garden soil). Water the soil thoroughly until it is completely saturated and water is running freely out of the bottom drainage holes.
Step 3: Sow Your Seeds
Plant your chosen seeds according to the depth instructions on the packet. For tiny seeds like snapdragons, simply press them into the surface. For larger seeds like sweet peas, bury them about half an inch deep.
Step 4: Seal and Label
Close the top half of the jug over the bottom half. Wrap a strip of heavy-duty duct tape entirely around the seam to seal the mini-greenhouse shut. Crucial step: Label the jug using a UV-resistant garden marker or grease pencil. Standard sharpies will completely fade under winter UV rays.
Step 5: Set It and Forget It
Place the sealed jugs outside in a location where they will receive full winter rain, snow, and sunlight. Do not put them under an awning or porch roof. Walk away and let winter do the heavy lifting! When spring arrives, you will see tiny green sprouts pushing up through the soil.
Prepare Your Winter Nursery Today
Gathering your supplies and securing your seeds now means you will be ready to start sowing the moment the deep freeze sets in.
👉 Shop our Cold-Hardy Vegetable and Perennial Flower Seed Collections at Urban Garden Seed today!
