
Adenium, Backyard Gardening, Cactus & Succulent, Family & Kids' Gardening, Flower Seeds, Garden Planning & Design, Herb Seeds, Homesteading & Self-Reliance, Sensory & Wellness Gardening, Sustainable & Regenerative Living, The Horticulturist’s Lab
How to Start Seeds Indoors: The Ultimate Step-by-Step Guide
Aug
Starting seeds indoors is the most effective strategy for extending your growing season, cutting garden costs, and accessing thousands of high-yielding heirloom and hybrid plant varieties unavailable at big-box nurseries.
By controlling temperature, moisture, and light during the critical germination window, you give your plants a strong head start so they produce heavily all summer long.
1. Essential Gear for Indoor Seed Starting
You do not need a commercial greenhouse to grow healthy seedlings, but having the right basic equipment is critical:
- Sterile Seed-Starting Mix: Avoid garden soil or heavy potting soil, which compacts easily and harbours disease. Use a lightweight, peat- or coir-based seed-starting medium.
- Seed Trays or Seedling Cell Pots: Choose trays with bottom drainage holes to prevent root rot.
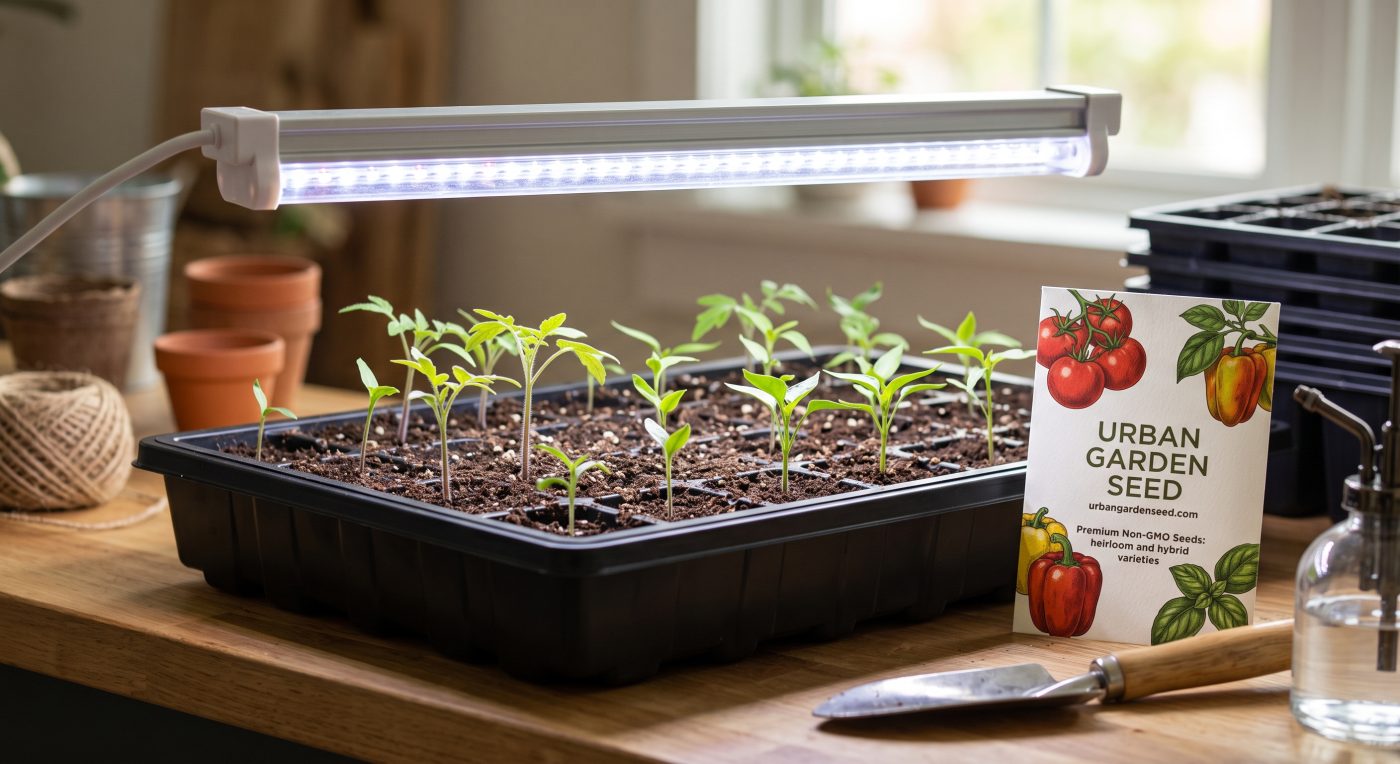
- LED Grow Lights: Standard window light is rarely strong enough in early spring. Full-spectrum LED lights keep plants stocky and vigorous.
- Seedling Heat Mat: Maintains optimal soil temperatures (70°F–85°F) for rapid, uniform germination.
- Clear Humidity Domes: Retains moisture until the first sprouts emerge.
2. Seed Starting Timing & Germination Quick-Reference
Different crops require different indoor lead times before your local last spring frost date:
| Crop Type | Weeks Before Last Frost | Soil Germination Temp | Light Needed for Germination? |
|---|---|---|---|
| Peppers & Eggplants | 8–10 Weeks | 80°F–85°F | No (Keep Dark/Covered) |
| Tomatoes | 6–8 Weeks | 75°F–80°F | No |
| Culinary Herbs (Basil/Parsley) | 6–8 Weeks | 70°F–75°F | Varies (Press light-sensitive seeds on surface) |
| Brassicas (Broccoli/Kale) | 4–6 Weeks | 65°F–75°F | No |
| Cucumbers & Squash | 2–3 Weeks | 75°F–85°F | No |
3. Step-by-Step Process: Sowing to Sprouts
Step 1: Pre-Moisten Your Mix
Dump your seed-starting mix into a bucket and add warm water until it reaches the consistency of a wrung-out sponge. Pre-wetting the soil prevents dry pockets and stops seeds from washing away during their first watering.
Step 2: Plant at the Correct Depth
Fill your seed cells firmly, tap the tray to eliminate air pockets, and place 2 seeds per cell. As a general rule, sow seeds at a depth equal to twice their width. Extremely tiny seeds (like thyme or oregano) should simply be pressed lightly onto the soil surface.
Step 3: Apply Heat and Humidity
Cover the tray with a clear plastic dome and place it on a seedling heat mat. Keep the tray out of direct sunlight until the seeds sprout. Check daily to ensure the soil remains consistently damp.
Step 4: Provide High-Intensity Light
The moment the green sprouts appear, remove the humidity dome and turn on your grow light. Position the light source 2 to 3 inches above the tops of the seedlings. Keep lights on for 14 to 16 hours daily using an automated timer.
4. Top 3 Seedling Mistakes to Avoid
- Overwatering: Constantly wet soil starves roots of oxygen and leads to “damping off,” a fatal fungal disease that causes young stems to collapse at the soil line. Allow the top soil surface to turn light brown between waterings.
- Inadequate Light: Window-grown seedlings almost always stretch toward the glass, becoming thin, weak, and leggy. Strong overhead light produces thick, sturdy stems.
- Skipping the Hardening-Off Phase: Moving indoor-grown plants directly into full sun will scorch their leaves. Always spend 7–10 days gradually introducing seedlings to outdoor sun and wind before permanent planting.
Fuel Your Garden Season with High-Vigor Seeds
Starting your garden from seed gives you complete control over your food supply and unlocks the most flavorful, resilient plant varieties on earth.
Give your garden the high-germination foundation it deserves.
👉 Shop our premium non-GMO Heirloom and Hybrid Seeds at Urban Garden Seed to start growing today!
