
Cactus & Succulent, Family & Kids' Gardening, Flower Seeds, Herb Seeds, Sensory & Wellness Gardening, Sustainable & Regenerative Living, The Horticulturist’s Lab, Urban & Small-Space Gardening, Vegetables
Seed Starting 101: The Foolproof Guide to High Germination Rates
May
New to gardening and afraid your seeds won’t grow? Learn the exact science of seed starting, perfect moisture control, and how to get high germination rates every time.
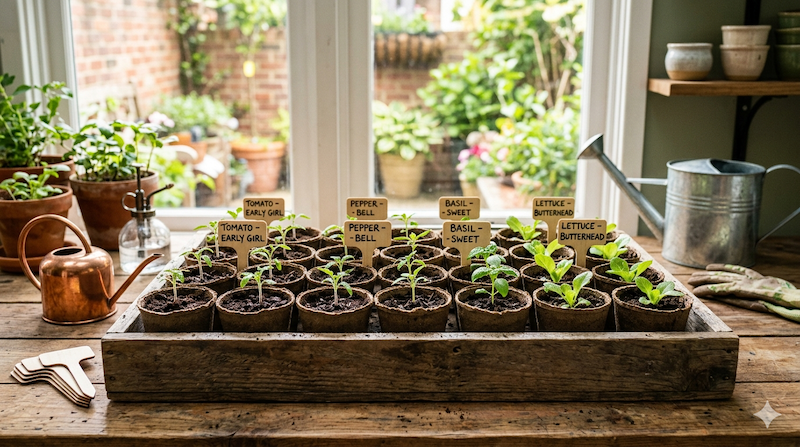
There is nothing quite like the thrill of seeing the very first green speck of a seedling push its way through dark, rich soil.
However, for many beginner growers, seed starting can feel like a game of chance. You plant a handful of seeds, water them, wait weeks, and… nothing happens.
Failing at the germination stage is the number one reason new gardeners give up. But getting a near-perfect sprout rate isn’t magic—it’s simple biology. By controlling just three critical environmental variables, you can unlock high germination rates and ensure your urban garden gets off to a flawless, high-yield start.
1. The Big Three: Warmth, Moisture, and Oxygen
Before a seed wakes up, it evaluates its surroundings. If conditions aren’t perfect, it stays dormant or, worse, rots in the dirt. To guarantee success, you must master the big three:
- Consistent Vital Warmth: Most vegetable seeds—especially peppers and tomatoes—need a soil temperature between 21°C to 27°C to trigger germination. If your room is drafty, placing your seed trays on top of a refrigerator or a dedicated seedling heat mat works wonders.
- The “Damp Sponge” Moisture Rule: Soil should never be muddy or bone-dry. Aim for the consistency of a wrung-out sponge.
- Oxygenation: Seeds need to breathe! Heavy, compacted backyard dirt smothers them. Always use a light, fluffy, soil-less seed starting mix.
Germination Timelines for Popular Varieties
| Seed Variety | Average Days to Sprout | Optimum Soil Temp | Light Required to Sprout? |
| Leafy Greens (Lettuce/Spinach) | 2 to 7 Days | 18°C – 22°C | Yes (Sow very shallow) |
| Tomatoes & Peppers | 5 to 14 Days | 24°C – 29°C | No (Prefer dark depths) |
| Culinary Herbs (Basil/Oregano) | 5 to 10 Days | 21°C – 24°C | Yes (Do not bury deeply) |
| Drought-Resistant Flowers | 7 to 14 Days | 20°C – 22°C | Varies (Check packet details) |
2. Avoid the “Too Deep” Downfall
The absolute quickest way to kill a high-quality seed is to bury it too deeply. A tiny embryo only has enough stored energy to push through a small amount of soil before it needs to find sunlight to start photosynthesizing.
The Golden Rule of Sowing Depth: Plant your seeds at a depth that is roughly two times the width of the seed itself. For incredibly tiny seeds like lettuce or oregano, simply scatter them on the surface and press them gently into the damp soil without covering them.
3. The Step-by-Step Seed Starting Blueprint
1.Pick Premium, High-Germination Seeds:The Foundation.
Always start your garden layout with premium, non-GMO, high-germination seeds. Good genetics withstand minor environmental mistakes much better than cheap, stale seeds.
2.Fill Trays and Pre-Moisten:Setup.
Fill your starter cells with a dedicated, lightweight seed-starting mix. Mist the mix thoroughly with warm water before you put the seeds in so you don’t accidentally wash them away later.
3.Plant According to the Golden Rule:Sowing.
Make a small indentation with a pencil tip, drop 2 seeds per cell (as insurance), and cover lightly if required by the variety.
4.Trap the Humidity:Incubation.
Cover your seed trays with a clear plastic dome or plastic wrap to trap moisture and heat. Check them daily, and the exact moment you see the first green sprout hook emerge, remove the cover completely to let air flow.
Start Growing with Complete Confidence
Seed starting doesn’t have to be a guessing game. By giving your seeds the proper balance of warmth, lightweight aeration, and balanced moisture, you can comfortably achieve professional sprout rates right from your kitchen counter or porch setup.
Ready to test your green thumb with seeds engineered to pop? Explore our fresh collection of high-germination, non-GMO vegetable and flower seeds at urbangardenseed.com and jumpstart your dream garden today!
